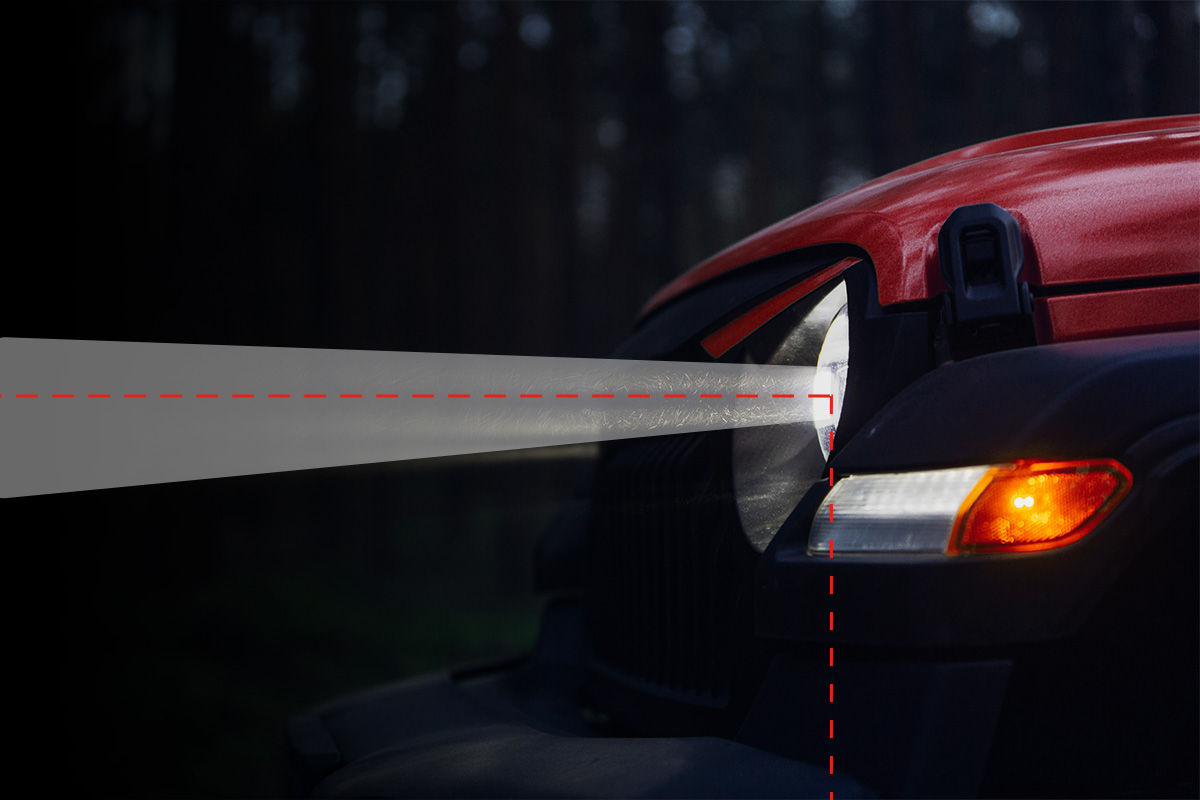
Poor headlight aim can make a healthy lighting system feel weak. Beams pointed too low shorten your usable view of the road, while lights aimed too high can create glare for other drivers. Before buying brighter bulbs, check whether the existing headlights are aligned correctly and producing an even pattern.
Check the Basics Before Adjusting Anything
Start with the vehicle on level ground, normal tire pressure, and a typical fuel load. Remove unusually heavy cargo that could change the vehicle’s stance. Dirty or hazy lenses should also be cleaned because poor light output isn’t always an aiming problem.
Park several feet from a flat wall and look at the beam pattern. Drivers often use practical reading ideas alongside maintenance information online, but the pattern produced by your own headlights is what matters here.
Look for an Uneven Beam Pattern
Both headlights should sit at a reasonably similar height unless the vehicle’s design says otherwise. One beam that points noticeably upward, downward, or toward the shoulder may indicate an alignment issue.
Also check whether a recently replaced bulb is seated correctly. A crooked bulb can distort the beam even when the headlight housing itself hasn’t moved.
Make Small Adjustments Instead of Chasing Brightness
Most adjustable headlamp assemblies have vertical adjustment points, while some also allow horizontal movement. Consult the owner’s manual before turning anything because adjustment mechanisms differ between vehicles.
General everyday maintenance topics can help build better car-care habits, but headlight adjustment should remain specific to the vehicle. Move the adjustment in small increments, then step back and inspect the beam again.
| Problem | Beam Clue | Better Response |
|---|---|---|
| Aim too low | Light ends too close | Raise gradually |
| Aim too high | Excess glare ahead | Lower gradually |
| Uneven sides | One beam looks displaced | Check bulb and housing |
| Weak output | Pattern is aligned but dim | Inspect lens and bulb |
Avoid making large turns all at once. It’s easy to move beyond the correct position and create a new problem.
Test Visibility Under Real Driving Conditions
A wall test helps with alignment, but the final judgment should happen on a safe road after dark. Choose a familiar, low-traffic area where you can assess how far ahead the roadway, lane markings, and roadside edges are illuminated.
People comparing maintenance advice may encounter general automotive reading mixed with many opinions. Use those materials as background only; actual headlamp specifications and manufacturer instructions should take priority.
Pay attention to whether oncoming drivers repeatedly flash their high beams. That can be a clue that your low beams are producing excessive glare, although road grade and vehicle height can also affect what others see.
Common Headlight-Aiming Mistakes to Avoid
A common mistake is assuming brighter always means safer. An intensely bright bulb with a poor beam pattern can reduce useful visibility while annoying or temporarily dazzling other road users.
Another mistake is adjusting headlights while the vehicle is parked on a slope. The starting angle becomes misleading. If repeated adjustments don’t create a stable pattern, inspect the bulb seating, headlamp mounting points, suspension height, and lens condition before continuing.
Never force an adjustment screw that feels seized. Damaging the mechanism can turn a simple alignment job into a housing replacement.
Frequently Asked Questions
How can I tell if my headlights are aimed too low?
You may notice that the illuminated area ends unusually close to the vehicle even on a flat road. Comparing both beams against a level wall can also reveal whether their cutoff lines sit lower than expected.
Can replacing a headlight bulb change the aim?
It can affect the apparent beam pattern if the replacement bulb isn’t seated squarely. Check installation first, especially when the visibility problem began immediately after bulb replacement.
Should both headlights point exactly straight ahead?
Not necessarily. Headlight patterns are designed to illuminate the road while limiting glare, and specifications vary by vehicle. Manufacturer instructions are a better reference than trying to create two perfectly symmetrical bright spots.
Make Night Visibility Work for Everyone
Correct headlight aim is about usable road illumination, not maximum brightness. Start with clean lenses and properly seated bulbs, adjust only on level ground, and make small changes while watching the beam pattern. If the housing is damaged or adjustment doesn’t hold, have the lighting system inspected rather than repeatedly turning the adjusters.